-1.jpg?width=584&height=352&name=Craig%20Francis%2c%20DJI_0036e%20hq%202%20(1)-1.jpg)
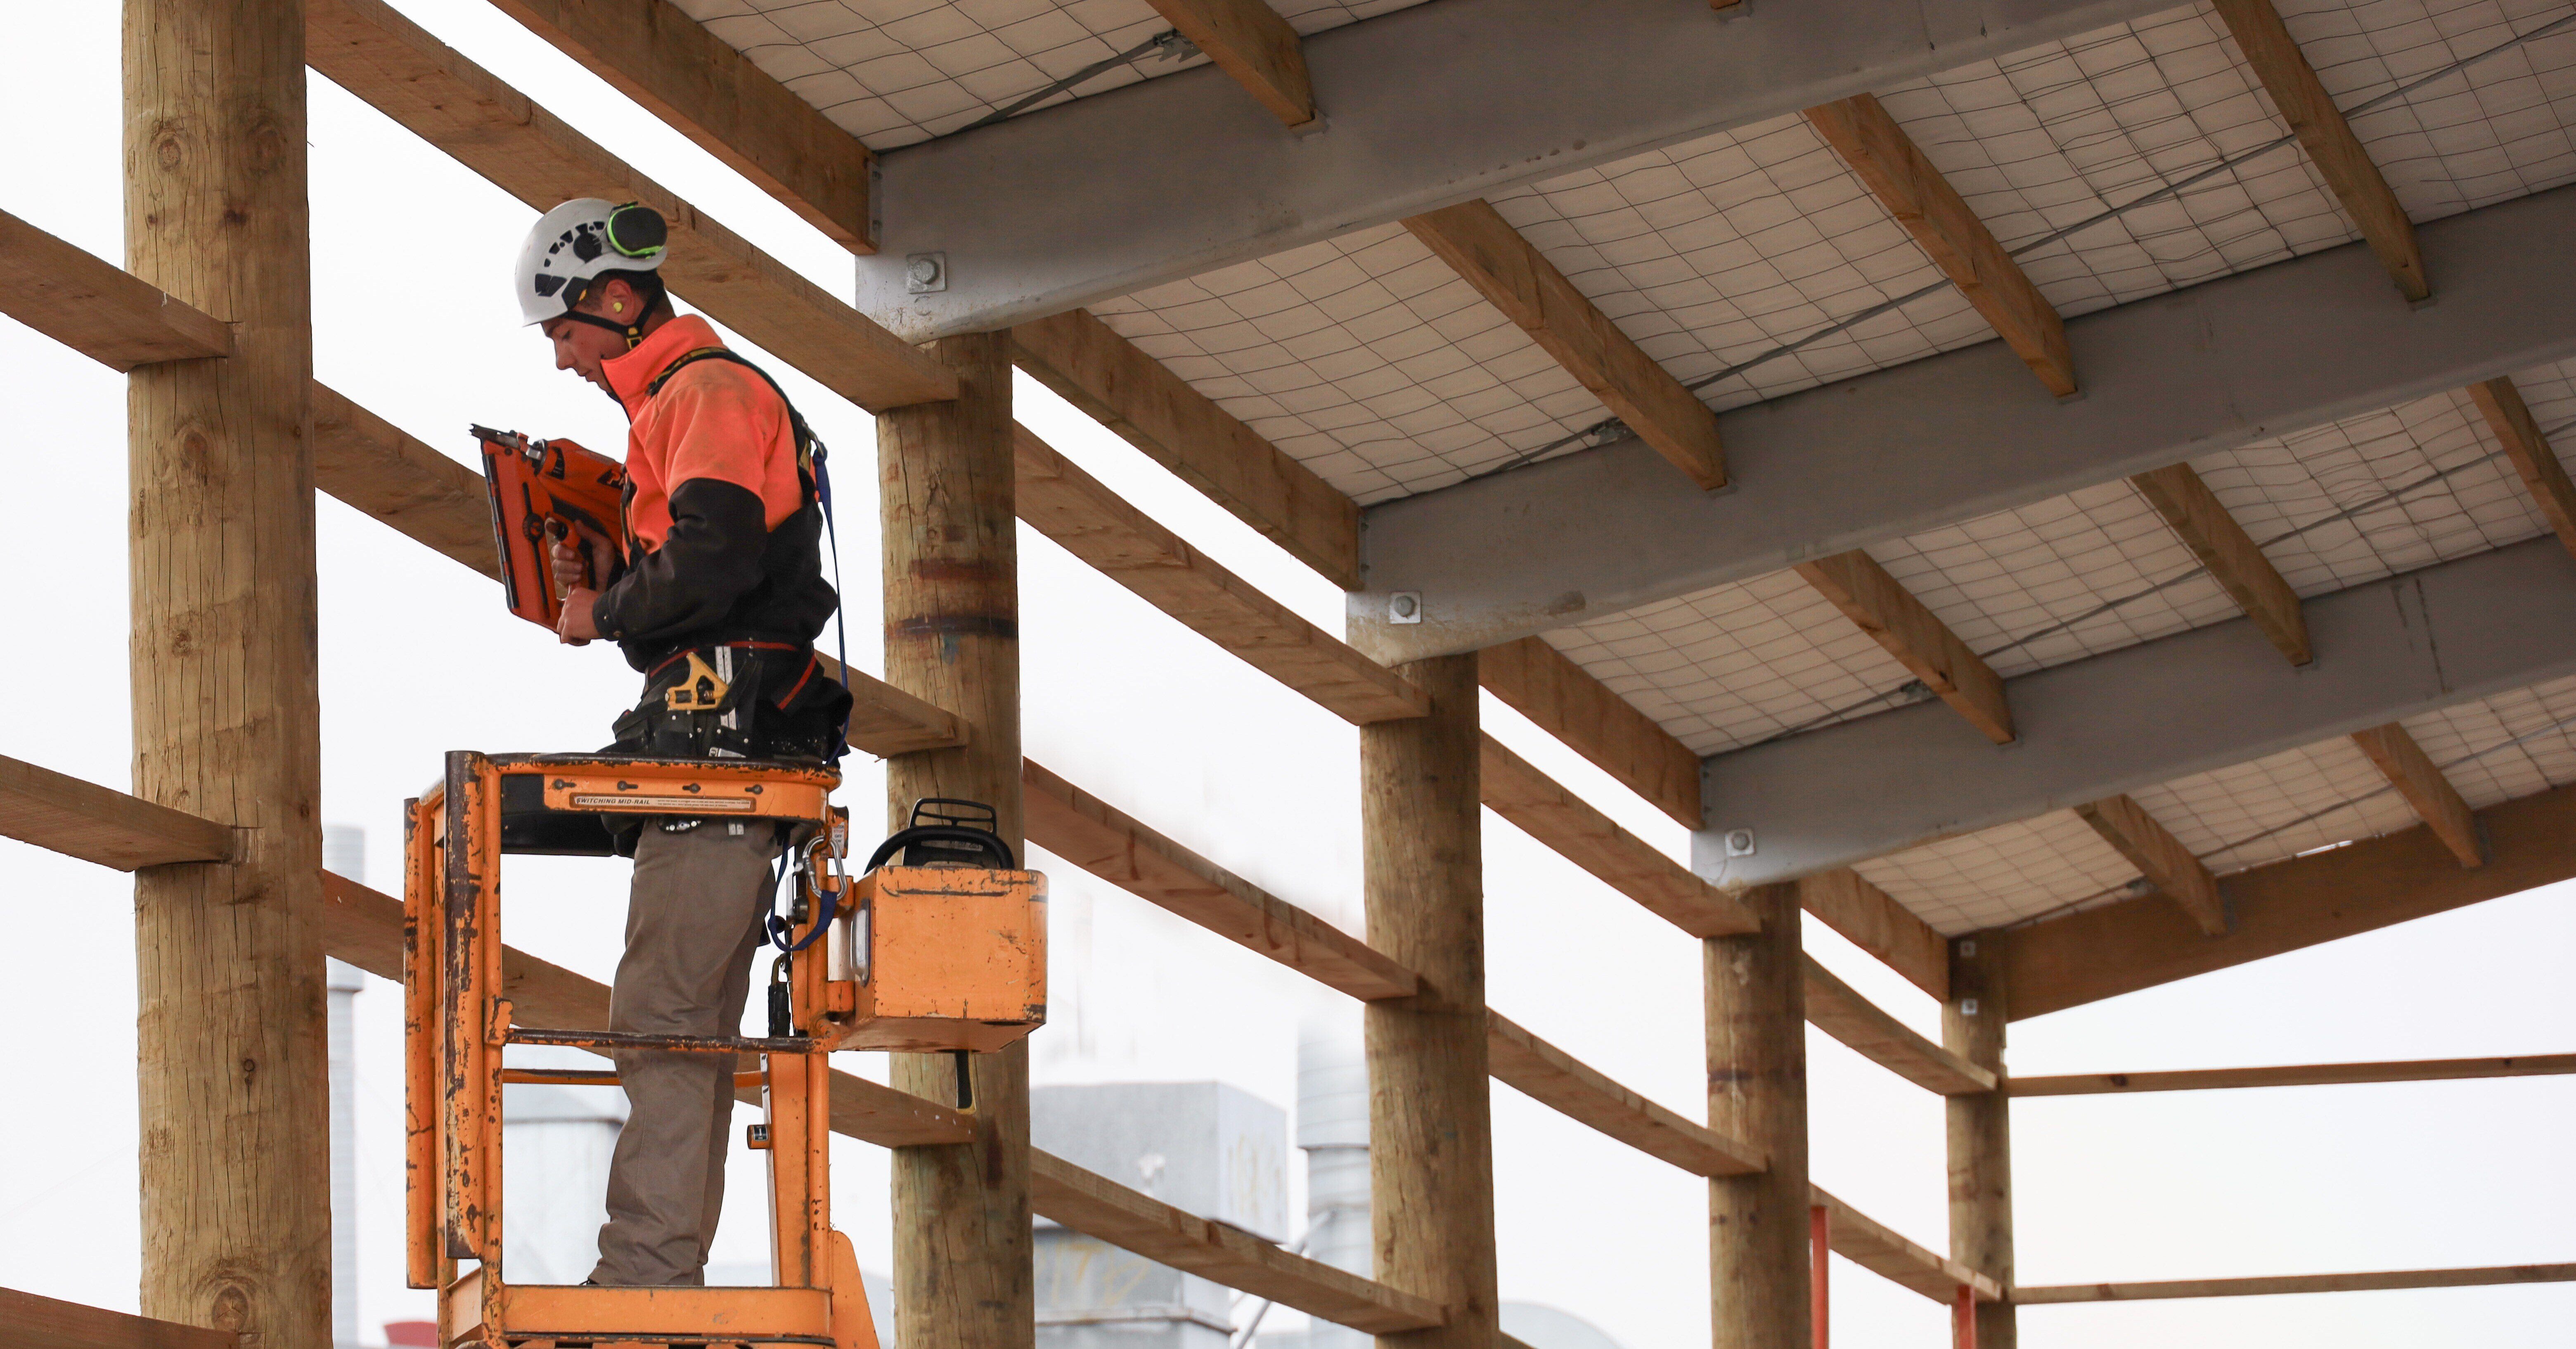
If you are considering building a new shed, you may be wondering what you will need to do to comply with the council stormwater regulations. The answer is, it depends.
In this blog, we discuss 5 ways to dispose of the stormwater, however, the best option for you will depend on your property location, shed site location, and other council regulations.
What is stormwater?
Stormwater is the water that runs off surfaces such as roofs, roads, and driveways. In an urban area, stormwater flows down the drain, through stormwater pipes and out to sea. However, in rural areas, stormwater disposal is left for the owner to manage, and all buildings require a statement as to where stormwater will go. Therefore, you must consider where your stormwater will go before building.
One of the key requirements for stormwater is to ensure that any collection or discharge of stormwater doesn’t enter buildings or cause a nuisance to any other property. This means that buildings and siteworks should be designed so that water cannot pool and flood the building, and also so that stormwater discharge cannot cross over a property boundary and negatively impact neighbours.

1. Disposal to Soak pit
A soak pit is an underground pit to which stormwater is directed. The design consists of a drain below the ground, emptying into a hole with 100-150mm sized rocks and surrounded by filter cloth. These pits are designed and engineered specifically to hold the water and slowly release it back into the ground, thus preventing flooding.
Most councils will require that an inspector checks the soakpit before it is covered up. A good stage for the inspection is when the soakpit is half full of rocks, so they can check the filter cloth, rock size, and drainage fall. Taking plenty of photos during excavation and construction is also a good idea, as these can be used to show it has been constructed correctly.
Soak pits must be site-designed, and because of this, some tests may need to be carried out. A test hole (100-150mm diameter) is required to be bored to the depth of the proposed soakpit, filled with water and maintained full for 4 hours to pre-soak the ground. The soakage level is then measured by recording the drop in water level on a graph and determining the soakage rate from this.
It is important to note that soak pits are best suited to sites that have sufficient soakage available underground, as materials such as heavy clay make drainage slow, or do not drain at all.
We recommend talking to your inspector at the first foundation inspection to see what their requirements or expectations are.
2. Directing the downpipes away from the building
In large, remote rural areas, especially in areas of low rainfall and high soakage soils, it may be an option to install 1.0m long ‘kick-outs’ at the base of the downpipe, to direct the roof water away from the building. The kick-out is essential to save the water from pooling and entering the shed and also prevent the foundations from eroding.
In some areas around the country, the council may not allow this option if your building site is situated next to a natural watercourse as this can cause water contamination in some cases.
3. Storage Tanks
Many rural clients like installing tanks to capture the rainwater from the roof so it can be reused during the dry summer months.
It is important to note that these tanks still need to have a method of disposal – after the tank is full, you still have as much water coming out of the tank as what is going in! So, another method of discharge is required to dispose of the overflow water e.g. soakpit, flow dispersal pipe, or council network.
4. Discharge to existing stormwater drains or swales on the property
This is a viable option for areas that have a good stormwater drainage system on the property, especially in areas of high clay/low soakage soils.
It is a requirement to prevent erosion at the outfall or where the pipe empties into the drain. Some councils may require evidence of this at the design stage or the final/drainage inspection. The simplest way is to create a Rock Riprap at the drain outlet, which is a layer of rocks 100-150mm in size, used to slow the water down before it enters the drain or swale.
5. Connecting to council stormwater networks
Connecting to council stormwater networks is generally considered the best method of stormwater disposal for buildings in residential or industrial zones, where there is limited space for soak pits and there are smaller distances to neighbouring boundaries.
There are often options to discharge stormwater to the curb and channel along the roadside, or to connect the drain directly to the council stormwater pipes under the road.
Some councils or specific properties may require any stormwater discharge to meet Greenfields rates. This can be to minimise concentrated discharge to streams and rivers, or because the council stormwater system is already at capacity.
The best way to have a compliant design for this is to have the roof water connected to a detention tank, which could also be a dual-purpose tank if storage is required as well. This involves having a slow-release valve installed at a set height on the tank, allowing the water to drain slowly as it fills up during the rainfall event. Calculations are required to determine the tank size, valve size, and location/height. Here at Alpine, we have the capability in-house to calculate this, or you could engage with a civil engineer.
Do I need a registered drainlayer to run my drains?
More often than not, the answer to this question will be yes, you will need a registered drainlayer to lay any drains under the ground.
There are exceptions to this rule when the downpipes are discharging straight to the ground, or when punched Novaflow (not uPVC) is used to take the water to a field drain. It’s good to keep plenty of photos of the trenches, backfill, and pipework on file.
This is often (but not always) detailed in your approved Building Consent documents, so if you are unsure, contact your council or the team at Alpine Buildings for clarification, or discuss with your Building Inspector at an earlier inspection (e.g. foundations).
If you have any other questions or want to discuss stormwater disposal further, you can give the Alpine team a call at 0800 428 453 or visit our website: Alpine Buildings | Pole Sheds NZ | Kitset Sheds.
Alternatively, download our Buyer's Guide today to find more information for your upcoming project.